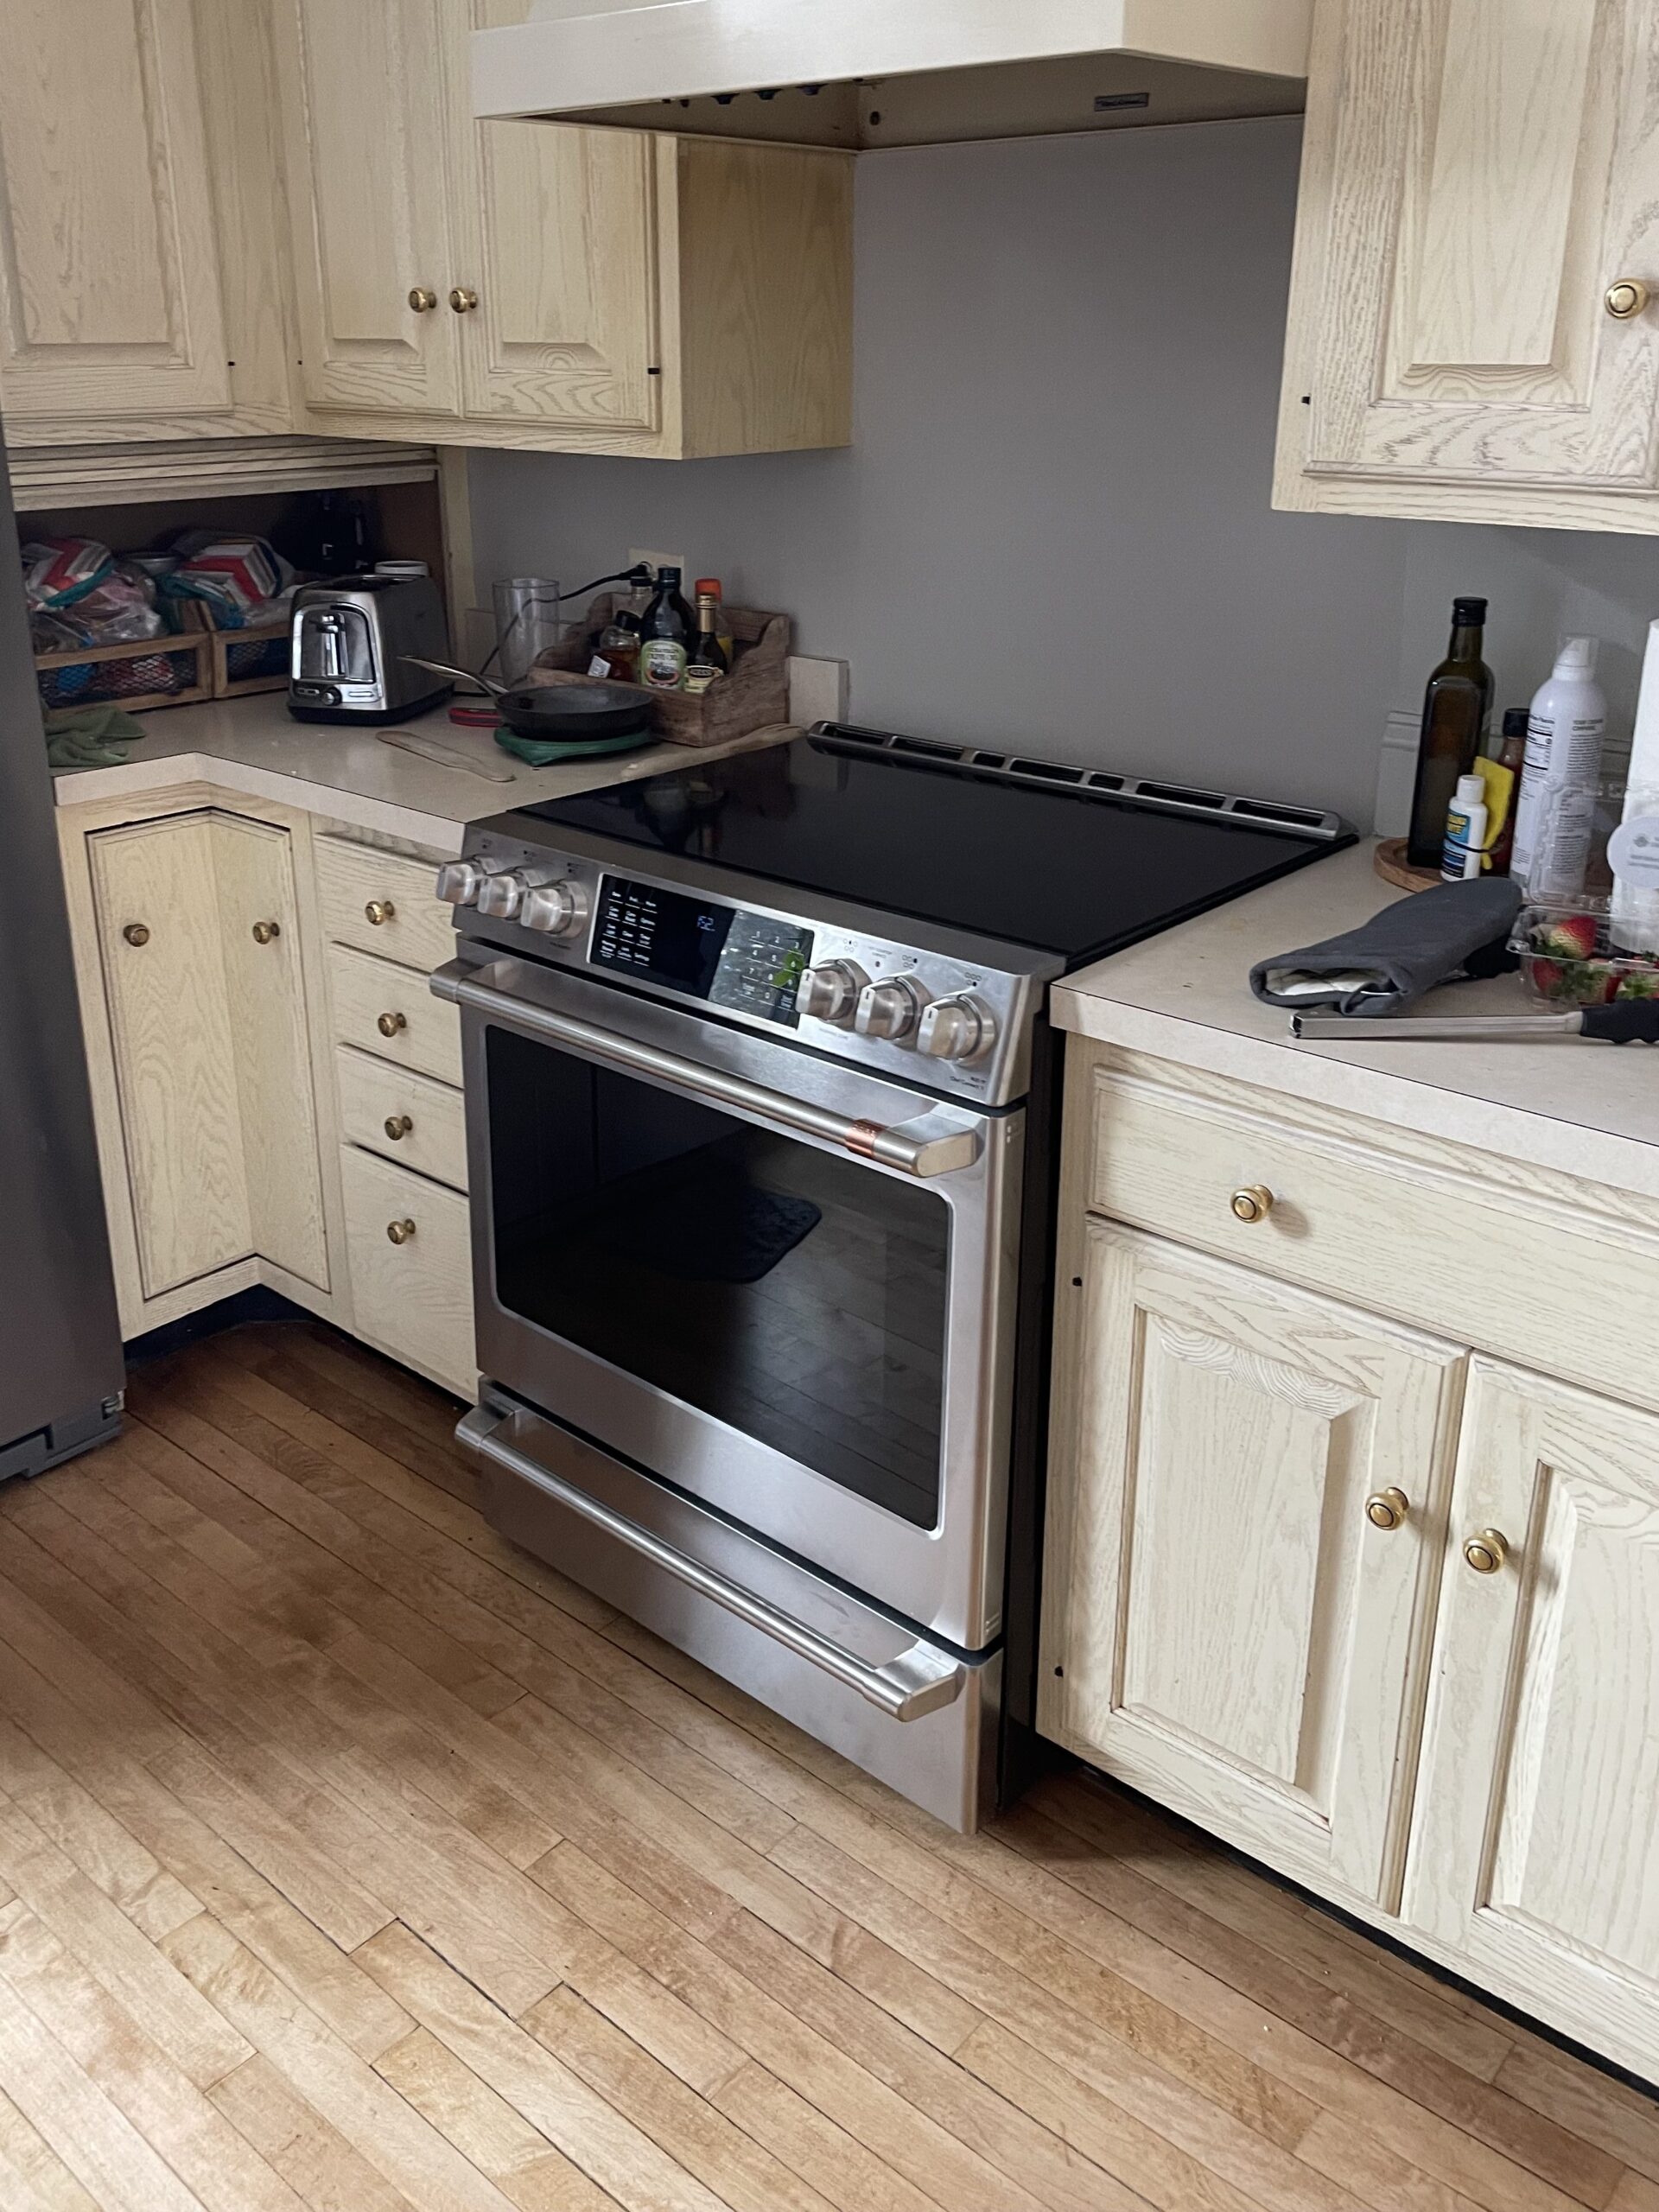
If you’ve been staring at your dated kitchen cabinets and wondering if you can actually pull off a professional-looking finish yourself—the answer is YES! But let’s be real: it’s a marathon, not a sprint.
2 years ago I transformed my cabinets by using a sprayer and Benjamin Moore Advance, and while the results are incredible, the process is all about the prep. Here is exactly how I did it, the timeline you can actually expect, and the steps to get that factory-smooth finish. Oh and it saved me over $4,000! Seriously a professional painter was charging me $5,000 for my small kitchen! It was way worth the effort and I’d do it again.
Jump to my full materials list here
The Game Plan: 3 Weeks to Perfection
While the “active” work time isn’t astronomical, the secret to a durable finish is cure time. I spent about 14–15 hours of actual labor, but the project spanned three weeks to ensure the paint hardened properly.
The Labor Breakdown:
- Sanding: 6 hours
- Taping & Prep: 4 hours
- Spraying: 2 hours (super easy once you have the technique down)
- Cleaning the Sprayer: 2 hours
Phase 1: The Doors (The “Off-Site” Work)
I started with the doors and drawer fronts. Taking them off is non-negotiable if you want a professional look.
- Remove & Prep: Take off all hardware and doors. (make sure you mark where you took these from so you can reassemble quickly.
- Optional: Fix the grain: I had a deep grain on my existing cabinets so I applies a thin layer of drywall joint compound.
- The Sand/Prime Cycle: I followed a strict rhythm: Sand → Prime → Sand. Sanding between every single layer is what kills the grain and creates that butter-smooth surface.
- The Paint Rounds: I applied the 1st coat, sanded lightly once dry, and then applied the 2nd coat. I repeated this for both sides.
- The Big Wait: Once the final coat was on, I let them cure for 1 full week. This is the hardest part, but Benjamin Moore Advance needs that time to level and harden so you don’t get imprints when you hang them back up.
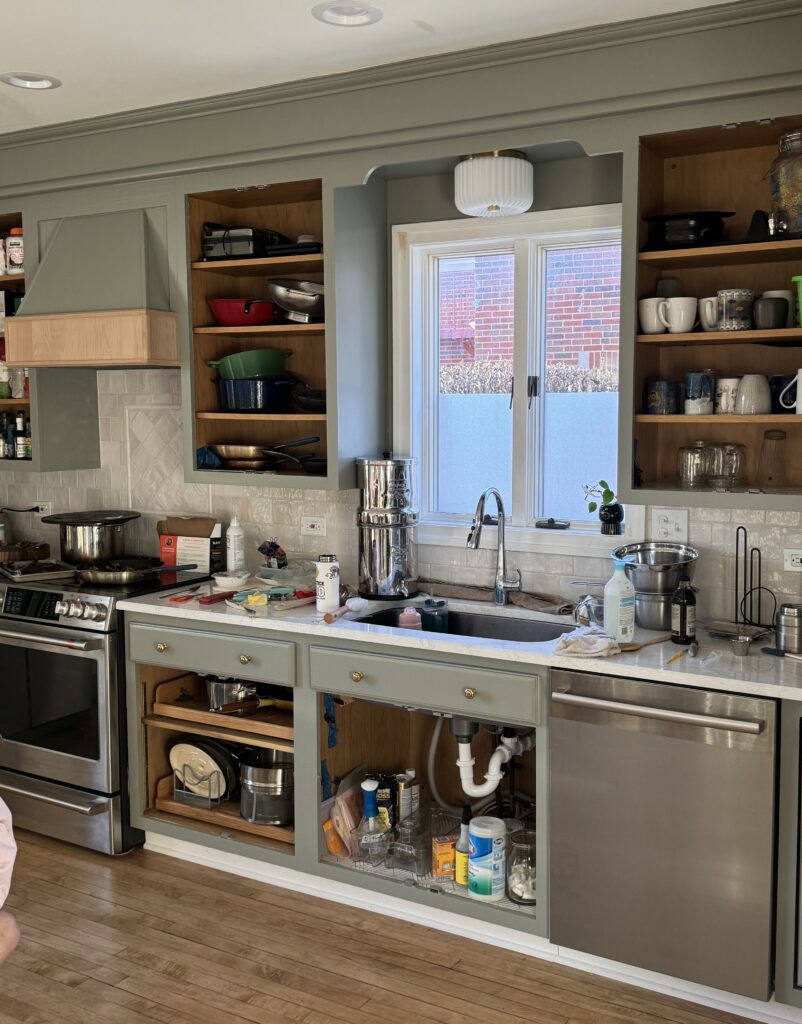
Phase 2: The Frames (Living in a Bubble)
Once the doors were curing, it was time to tackle the “bones” of the kitchen.
- The Tape-Off: Since I used a sprayer, I had to tape off everything. Every inch of the backsplash, floors, and appliances and inside cupboards was covered. It took about 4 hours, but it saved me days of cleanup later.
- The Process: Just like the doors, I followed the exact same sequence: Sand, Prime, Sand, 1st Coat, Sand, 2nd Coat. Use a good Primer: Zinsser BIN (shellac-based)
- Cure Time: Again, I let the frames cure for 1 week before reattaching the doors.
My Top 3 Takeaways
- Benjamin Moore Advance is Worth It: It acts like an oil-based paint for durability but cleans up with water. It has a long “open time,” which means it levels out beautifully without brush marks.
- The Sprayer Learning Curve: Budget time for cleaning! I spent about 2 hours total just maintaining the sprayer. If you don’t keep it pristine, your finish will suffer. The sprayer I used was easy to clean. IMO it didn’t take much longer than cleaning brushes.
- Sanding is Your Best Friend: It feels tedious (6 hours of it!), but the grit is what gives the paint something to grab onto. Never skip the post-prime sand. Use 120 before the Primer then use 220 between coats.
- Vacuum power! Equally as important as sanding is making sure you clean up after; high quality shop vac, tack cloth
🛠️Want my exact cheat sheet for this project? Grab the PDF guide —it’s everything I know, none of the guesswork. 👉{Get it Here} https://www.etsy.com/listing/4479499989/diy-kitchen-cabinet-painting-guide-pdf
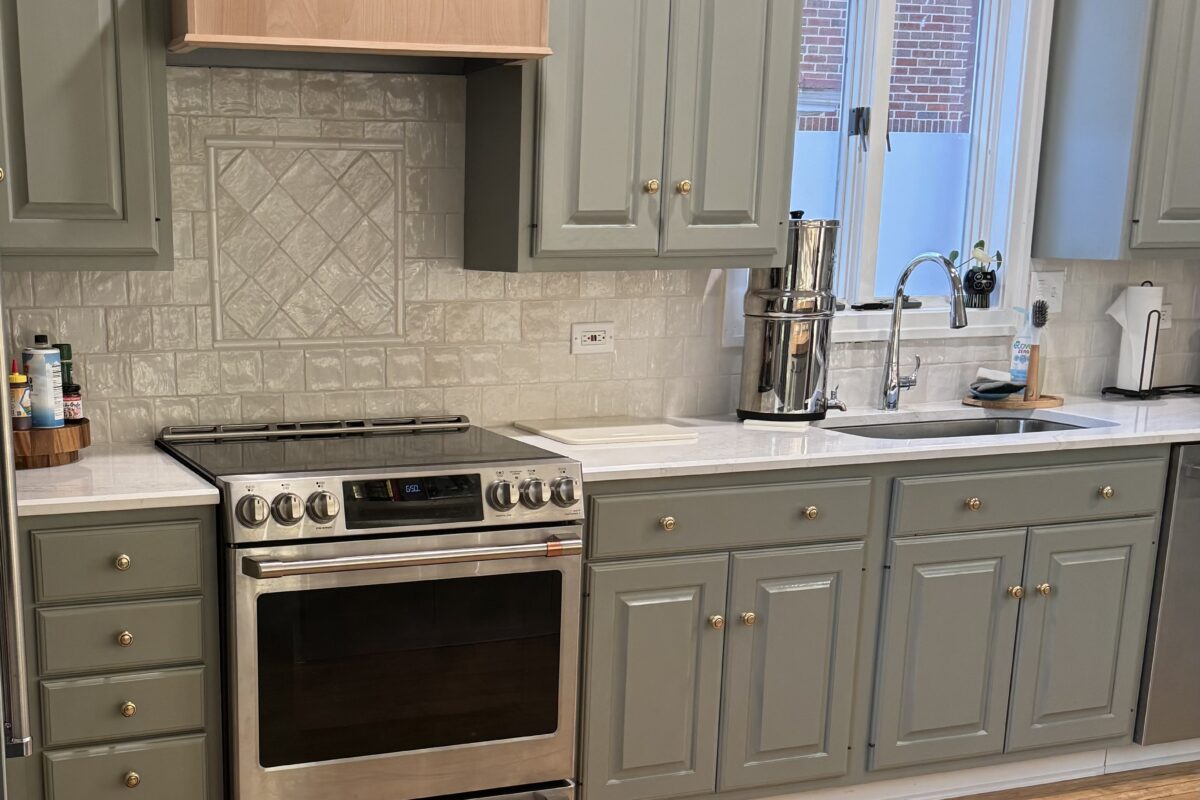
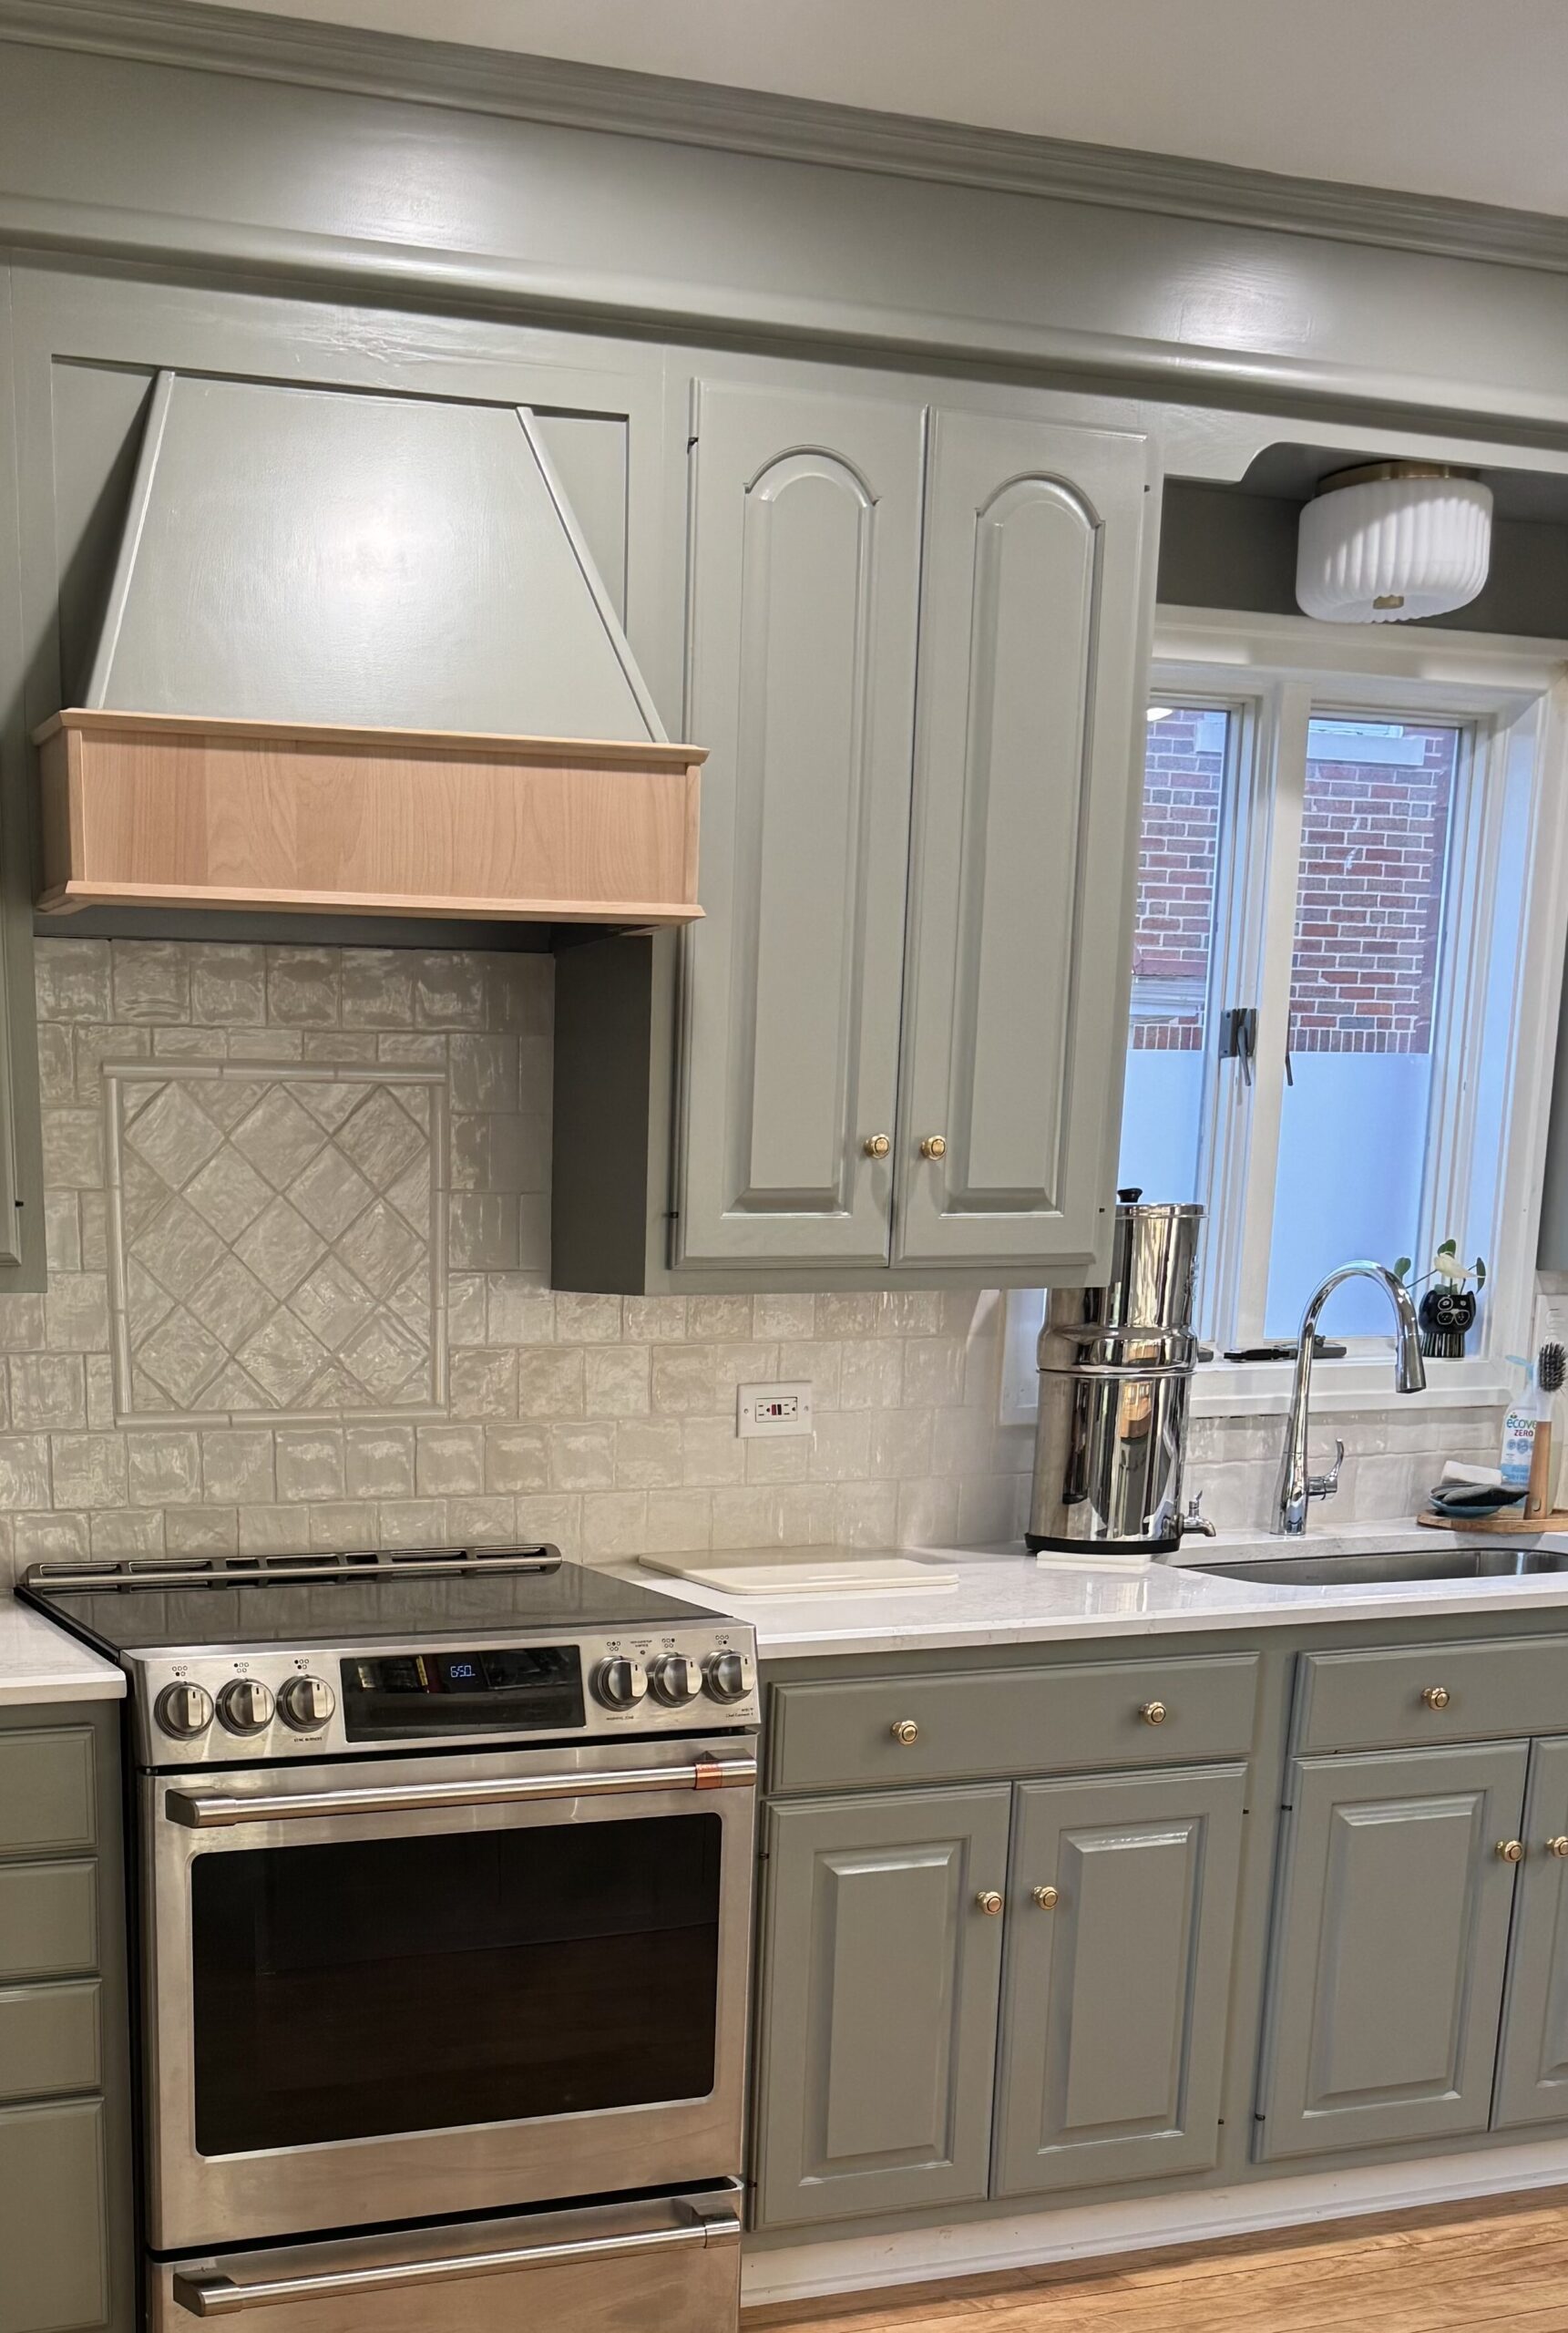
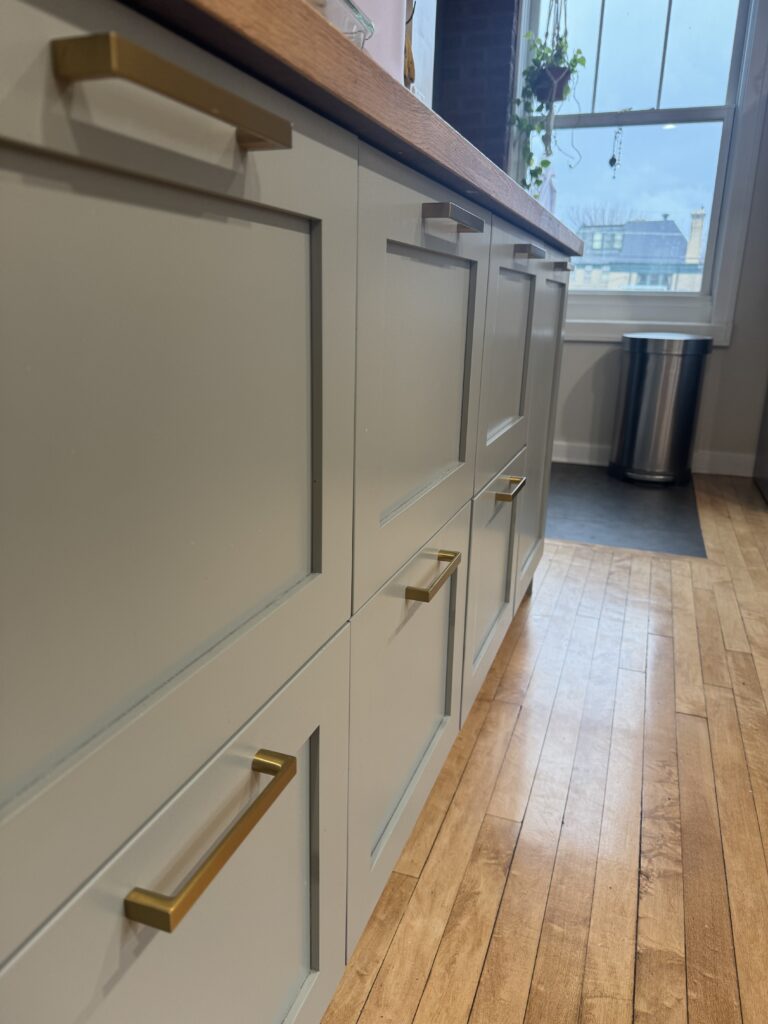
Final Result
It took three weeks of living in a construction zone, but the factory finish I got by using a sprayer and being patient with the cure time was worth every second of sanding.
The Shopping List: Everything I Used
To get a professional “factory finish” at home, you need more than just paint. Here is the gear that made this project possible:
The Painting Setup
- HVLP Paint Sprayer: I used the HomeRight Super Finish Max HVLP Paint Sprayer – 450 Watts, Model# C800971.M, which is great for unthinned latex paints like Benjamin Moore Advance. It’s the key to that smooth, brush-mark-free finish.
- Portable Paint Tent: https://amzn.to/48d7ubM A lifesaver for spraying doors and drawers while keeping dust and bugs off your wet paint.
- Benjamin Moore Advance Paint: Chosen for its incredible leveling properties and oil-like durability with water cleanup. This has stood the test of time with a busy young family and pets.
Prep & Protection
- 3M Hand-Masker M3000: This Hand-Masker is the pro secret to the “bubble” I lived in. It dispenses tape and masking film simultaneously, making the 4-hour taping process much more manageable.
- Sanding blocks: https://amzn.to/3NOJy7B
- Painters Tape: https://amzn.to/40WYjZg
- Tack Cloths: https://amzn.to/3PyQSF4 After sanding, a vacuum doesn’t get everything. A quick wipe with a tack cloth ensures the surface is 100% dust-free before you spray.
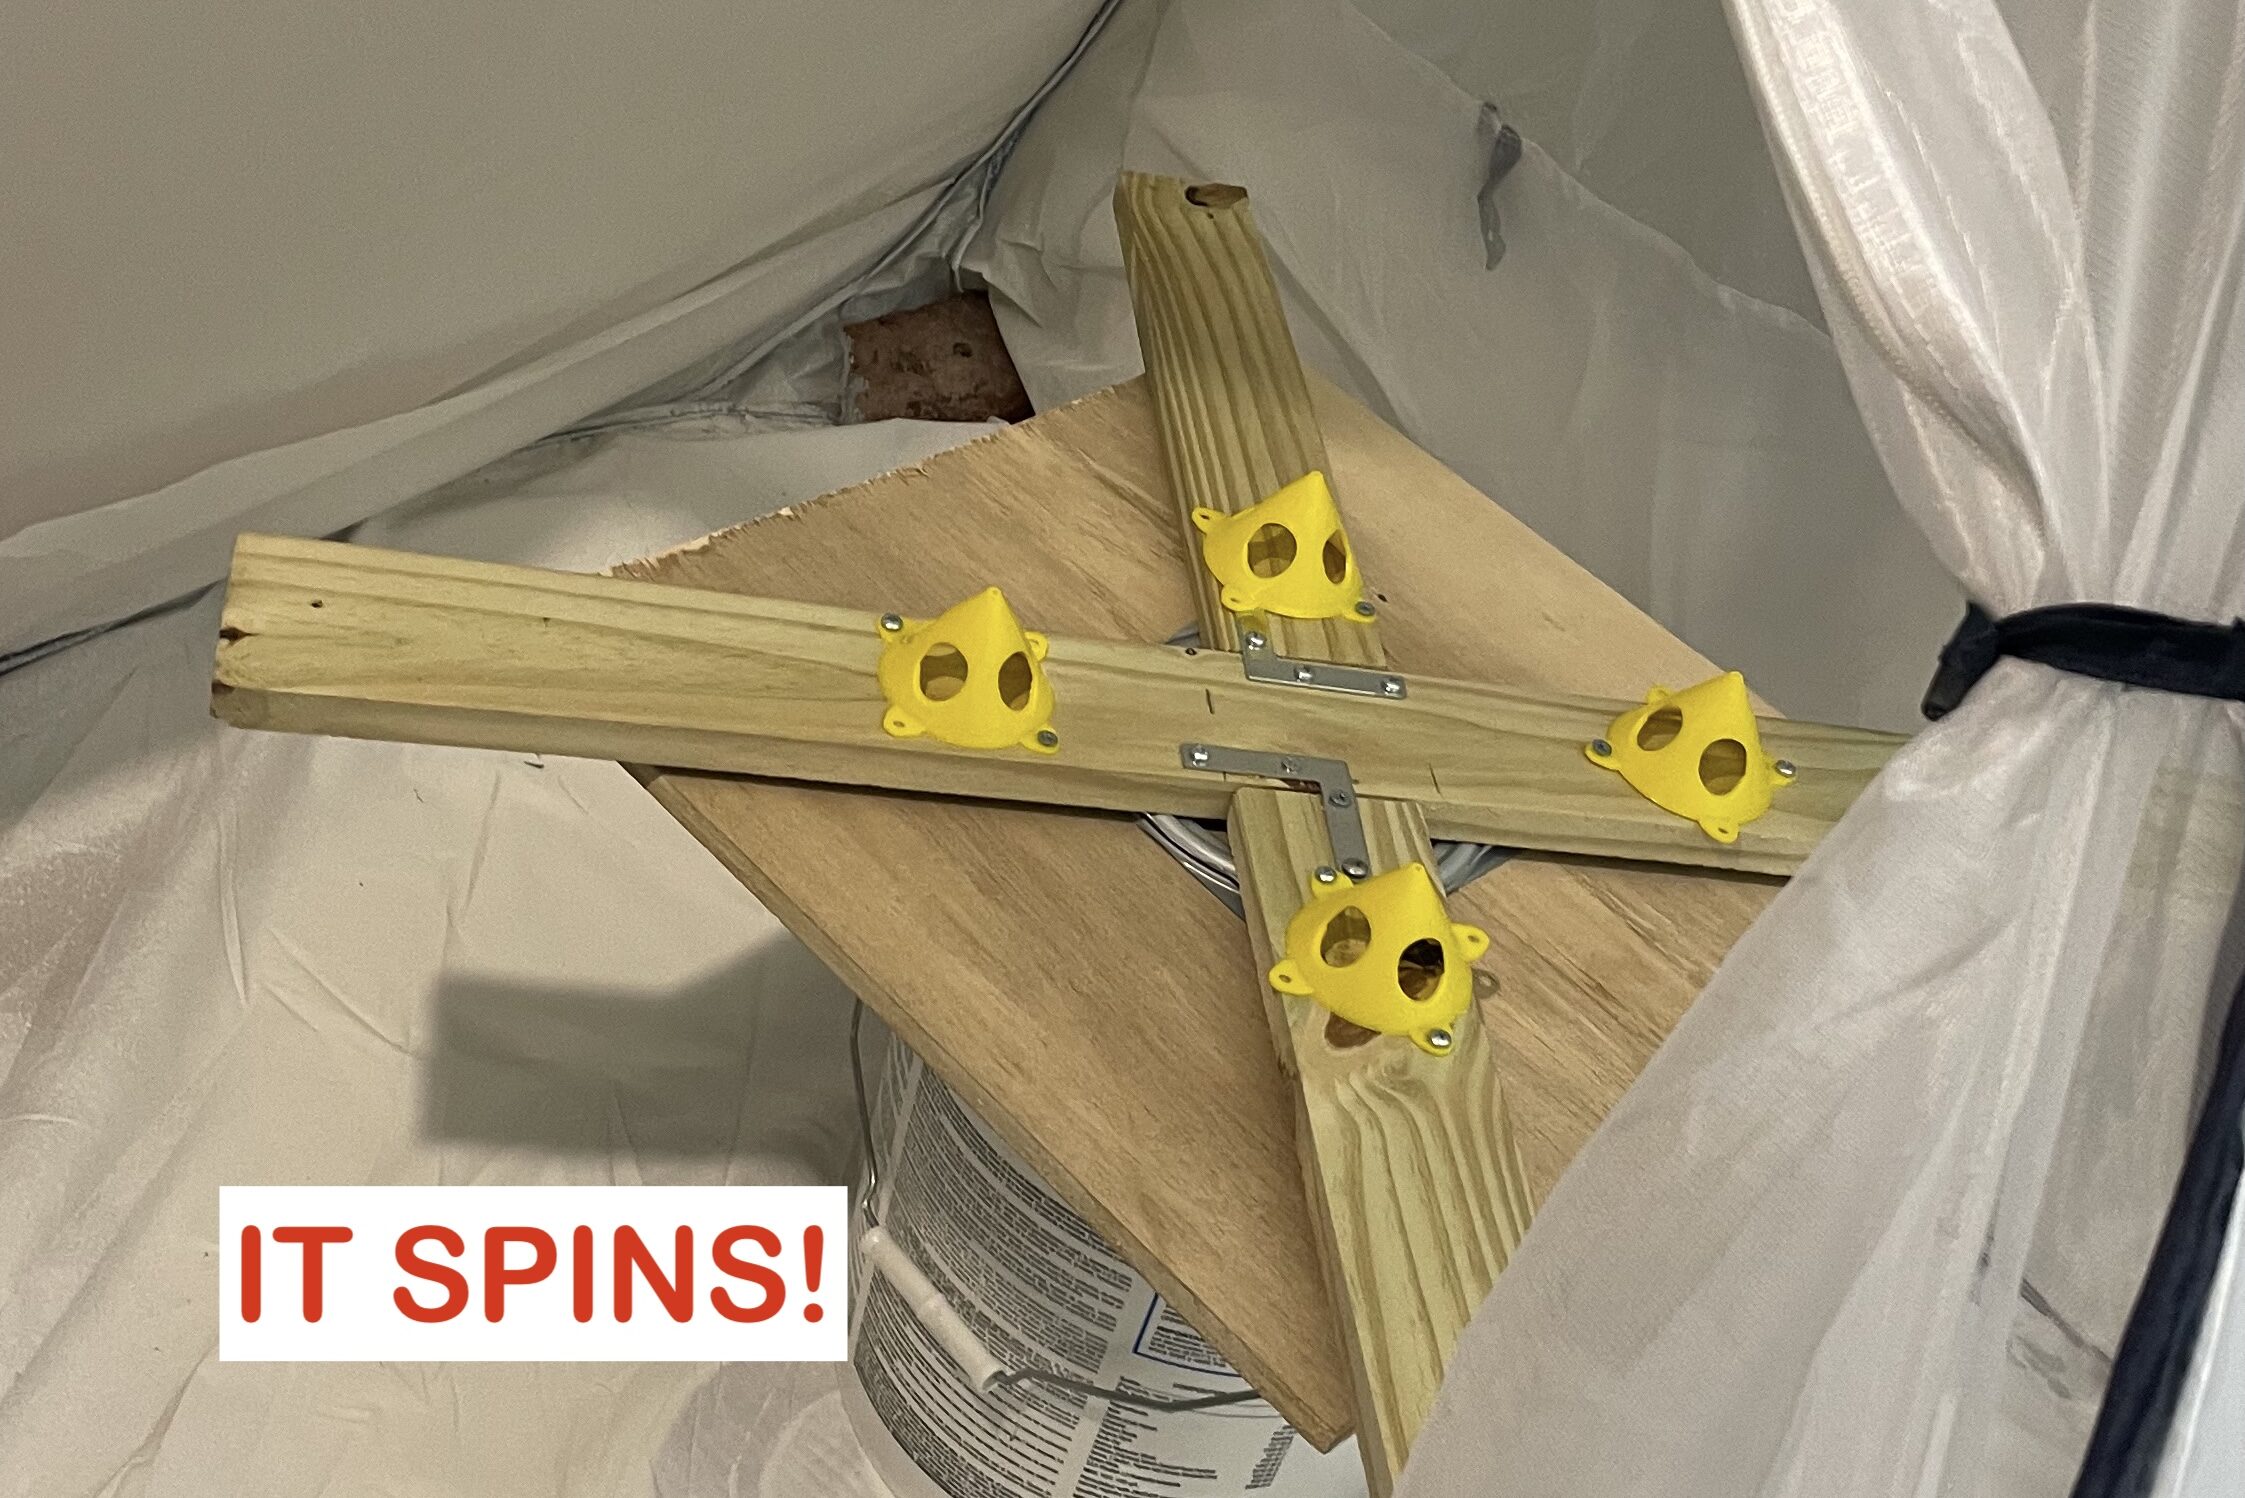
- Painter’s Pyramids: These project lifters prop up your doors so you can paint the edges and flip them without the wet side touching the ground. See my DIY painters wheel below which made painting in the tent WAY easier.
Thanks for reading about my painting project. Let me know what you think and if you will save yourself some money and spray paint those cabinets! Happy Painting